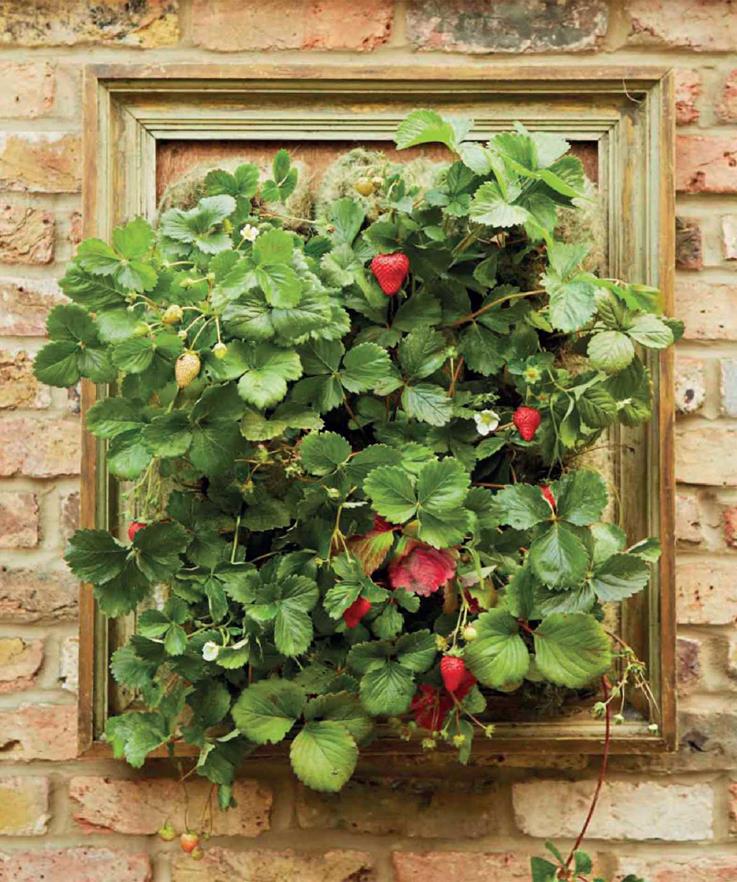
Bring life back to an old picture frame by creating planting pockets and filling them with strawberry plants. The picture changes as the plants grow, while flowers and fruit add extra interest and color.
TIME IT RIGHT Create the planting pockets at any time of year, but early to mid-spring is best for planting up strawberries; or for an even earlier crop, plant in fall and keep in a frost-free place over winter.
|
|
|
1 |
Measure and cut a piece of marine plywood to fit the back of the picture frame. Screw in place, then screw brackets to the plywood at each corner and at the center of the top and bottom edge.
|
2 |
Brush the PVA solution over the frame and plywood to help protect them from the elements. Leave to dry. You could also add a final coat of clear marine varnish for extra protection.
|
|
![]()
чЛ—Project Steps
|
3 |
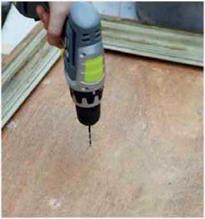
Mark on the plywood a straight vertical line of four crosses, evenly spaced along one of the long edges of the frame. The lowest cross should start just in from the bottom corner. Repeat at the opposite long edge and then twice more at equal intervals in between. You should have a grid of 16 crosses. Drill a hole, wide enough to hold two lengths of garden wire, at each cross.
FLANT1M6 VFS
Dainty alpine strawberries are a good choice if your frame is smaller. Alternative plants include tumbler-style tomatoes, seasonal trailing annuals, and herbs. Ivy provides year-round greenery – variegated ivy adds interest.
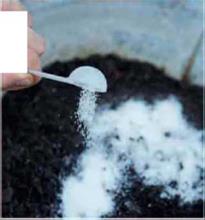
![]()
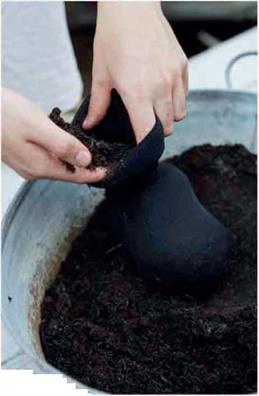
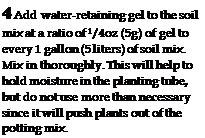 3Cut a pair of tights into separate legs and feed the potting mix into one of them until you have made a planting tube. The tube should be the same length as the inside long edge of the picture frame and should fit comfortably between the lines of holes drilled in the plywood.
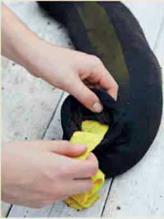 6 Cut a piece of absorbent cloth ІМ-ІУгіп (3-4cm) wide and the same length as the planting tube. Feed the cloth down what will be the back of the planting tube—this will act as a wick to help distribute the moisture.
![]()

|
7 |
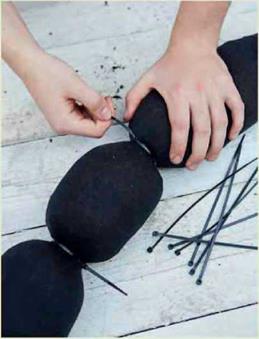
Tie off the open end of the tube with a cable tie, then squeeze the soil mix to divide it into four equal sections. Tie off between sections with cable ties. This prevents soil from sinking down the tube.
|
8 |
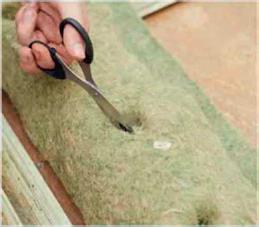
Cut planting holes in the center of each section with scissors and gently open them out a little with your fingers.
 |
 чЛ—Project Steps
|
9 |
 Cut a piece of hanging basket liner large enough to wrap around the planting tube, allowing a little overlap on the side and a larger overlap at the bottom end.
|
И |
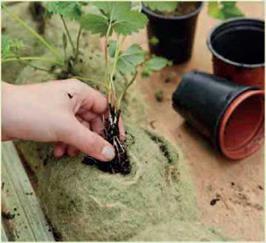
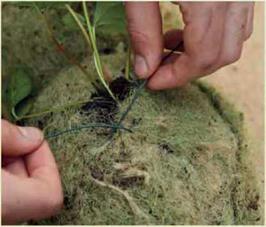
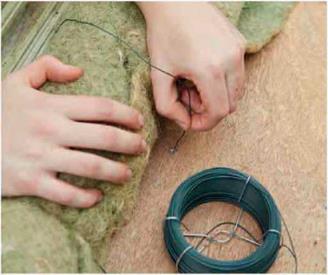 To attach the planting tube to the picture frame, thread lengths of garden wire over the tube and through the holes in the plywood on either side of it. Pull tight and tie off firmly at the back of the frame. The planting tubes are also held in place at the bottom, so make sure the bottom end of the hanging-basket liner is tucked underneath the tube and held firmly in place when tied to the frame. The top end of the tube is left open for watering.


![]()
![]()
 =!І
=!І
2 Care Advice
‘Where to site Strawberries need a fair amount of sun for crops to ripen, so choose a sunny but sheltered spot.
Watering and feeding Water
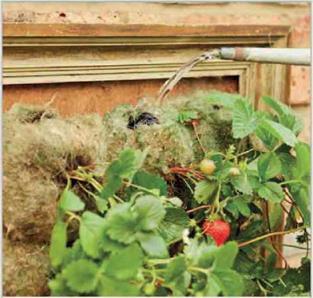
frequently in growing season and while plants are getting established. Add diluted liquid fertilizer to the water once or twice a month. In winter, reduce watering and do not feed. Use a watering can with a long spout to water. You can also mist plants in hotter weather.
General Care Remove damaged or dying foliage or fruit in the growing period. Cut back after fruiting and pot any runners (see page 159). You may need to net the frame to protect fruit from birds.
|
|
Use a watering can with a long spout to get water directly into the soil at the top of each planting tube.
Succulents


