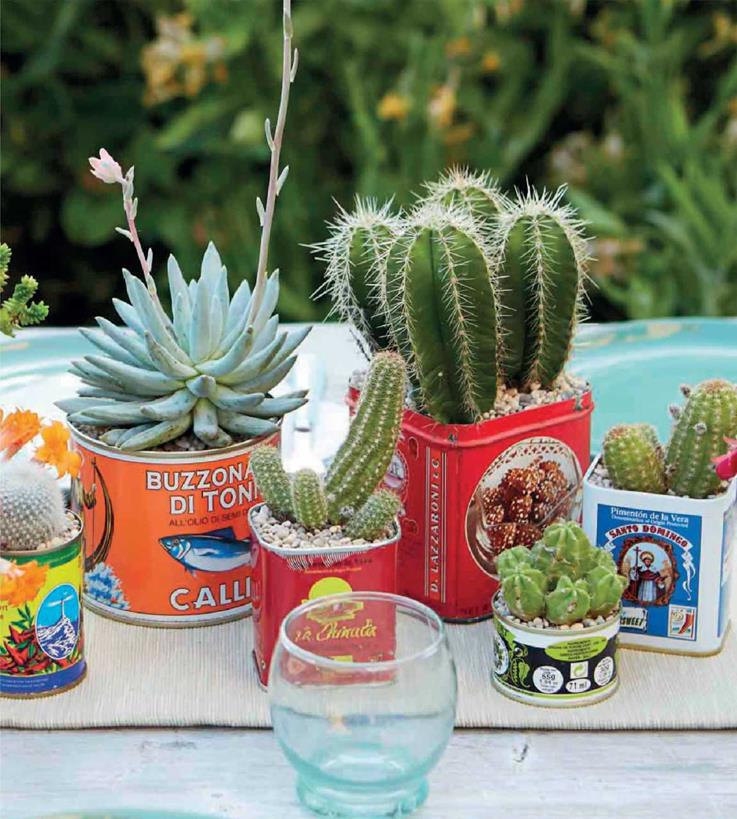
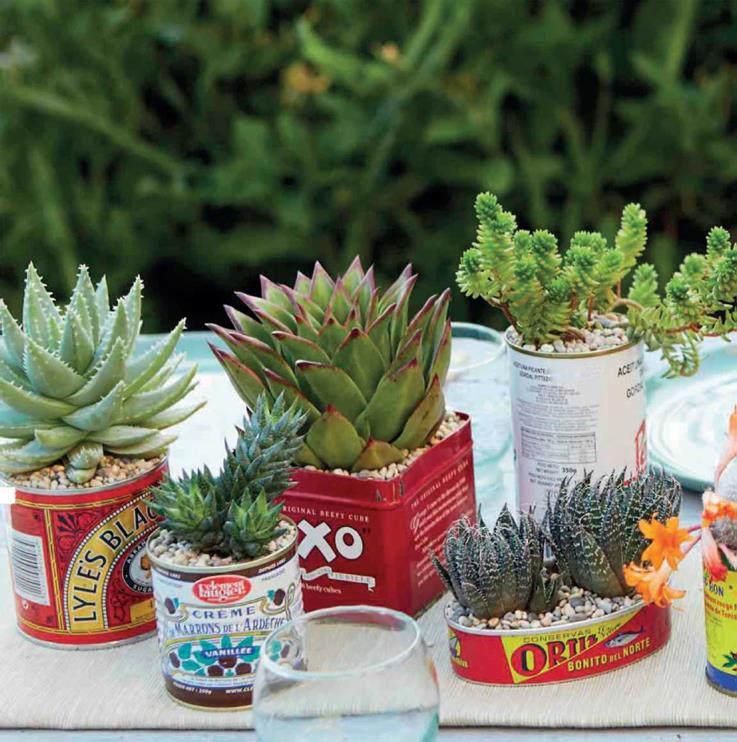
For a taste of Mexico without leaving your garden, create a desert scene with architectural cacti and juicy succulents grouped together in bright food cans for an interesting table display.
TIME IT RIGHT Best to plant at the start of the growing season from mid-spring. Plants will last 1-3 years before needing to be repotted, depending on the size of the plant and can.
PLANT LIST
 Aloe aristata Aloe brevifolia Chamaelobivia kawinai Chamaelobivia ‘Rose Quartz’ Echeveria agavoides ‘Red Edge’ Haworthia glauca var. herrei f. jacobseniana Pachyphytum hookerii Rebutia species Sedum ‘Spiral Staircase’ Stenocereus dumortieri
|
1 |
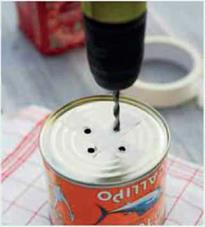
Clean the tin cans thoroughly before using. Drill drainage holes in the bottom of each can with an electric drill. Use masking tape to keep the drill from slipping.
|
2 |
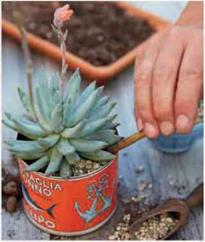
Add a layer of drainage material, such as gravel, to the bottom of each can. Good drainage is vital so that the roots don’t sit in water and rot.
![]()

|
3 |
Mix up a free-draining gritty compost from
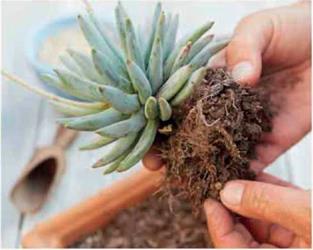
soil-based potting mix and horticultural grit in 3:1 proportions. Remove plants from their pots and gently break up the root ball, teasing out the roots and removing soil. Be careful not to damage the roots.
Place plants on a layer of compost and then fill in around the root ball, working in the compost with a dibber to reduce air pockets. Tap the container on the work surface to distribute the compost evenly. Top with a layer of decorative gravel. Place on a saucer or small plate if you need to protect the table surface.
|
|
Care Advice
‘Where to site Cacti and succulents need a sunny site and warmth to thrive. You can leave them outside in summer, as long as there is adequate protection and shelter from rain. Bring inside during winter and place on a sunny windowsill in a warm room.
 Watering and feeding The easiest way to water these is to place the cans in a shallow container of water, leave until the surface of the compost is moist, then lift out and allow to drain. Water regularly in the growing season—every 10 days or so—and add a diluted liquid feed to the water during spring and summer. Do not feed or water in fall and winter.
G0AC41 OESHi-fiSM)* wives riCAHTi
![]()
Create a dramatic scene by matching the shape of plants to the design and size of the cans
 *
*
|
|
 |

TOOLS & equipment
large glass lantern with opening electric drill & drill bits (optional) pond liner or similar strong outdoor adhesive strip of thick, clear plastic 2 contrasting types of gravel soil-based potting mix mixed 3:1 with horticultural grit dibber, chopstick, or pencil
PLANT LIST
Abromeitiella brevifolia carpet moss (optional) Crassula columella Echeveria minima Frithia pulchra x Pachyveria ‘Powder Puff’
Care Advice
General care Water every
10 days from spring to early fall by wetting the soil between plants with a water mister; include a diluted liquid feed. Leave the door open for air but bring inside over the winter.
|
1 |
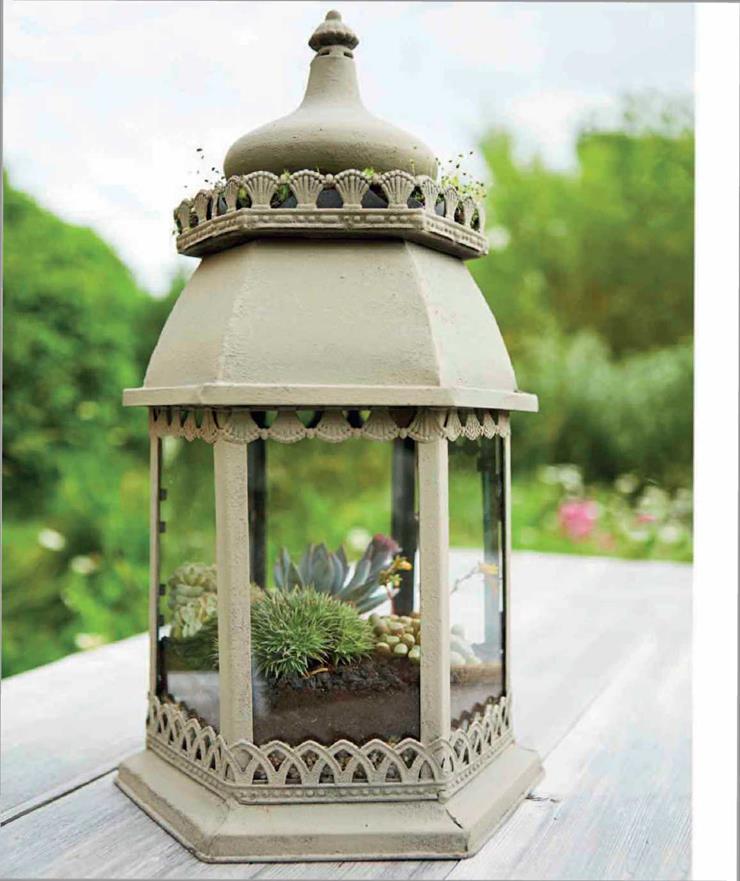
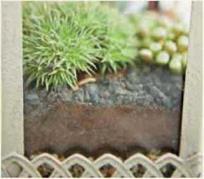
Drill drainage holes in the base of the lantern, if required, then insert pond liner. Glue the plastic strip across the bottom third of the open side. Add a layer of gravel followed by a layer of potting mix.
|
|
|
2 |
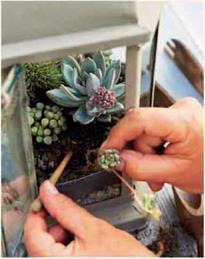
Arrange a selection of plants inside to suit the height and space of the lantern, then plant them with the help of a dibber. Cover the surface with gravel.
|
3 |
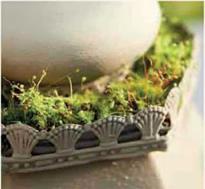
If you like, line the top rim too and plant with moss, but make sure the moss doesn’t dry out.
|
|
Pots and Pots of

