![]()
![]()

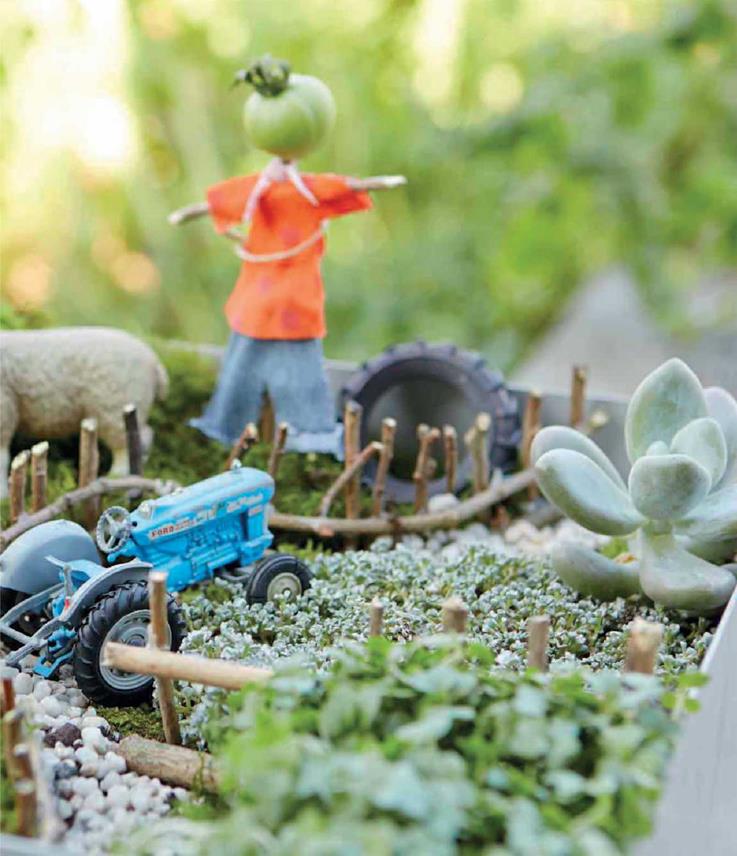
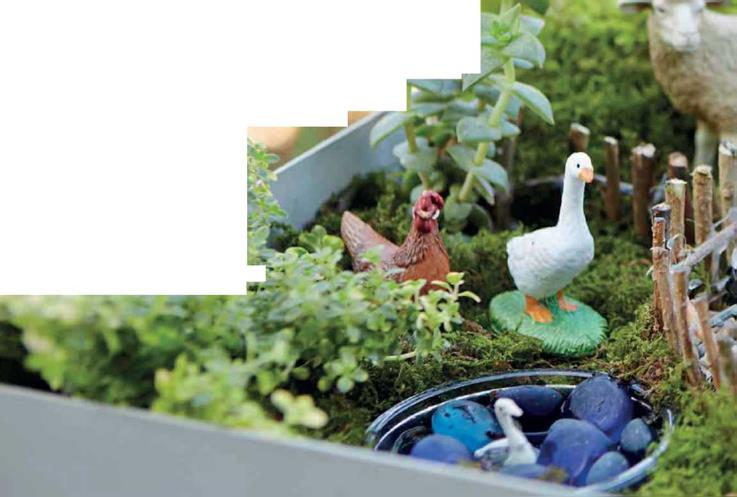 From a tiny barnyard to a dinosaur landscape or a beach scene—let children get creative and enjoy gardening on a small scale. Use tiny plants and rooted cuttings for trees and bushes, or sow seeds that will grow into a crop for your farm.
|
|
 |
 |
![]()
TOOLS & equipment
high-sided, loose-bottomed square cake pan
gravel
multipurpose potting mix small glass or plastic container, for the pond blue glass pebbles small twigs and sticks scissors
glue gun or multipurpose glue small aquarium gravel scraps of material unripe cherry tomato selection of small barnyard toys and animals
PLANT LIST
carpet moss cress
Thymus ‘Doone Valley’
Thymus praecox ‘Elfin’ selection of small foliage plants and succulent cuttings
|
1 |
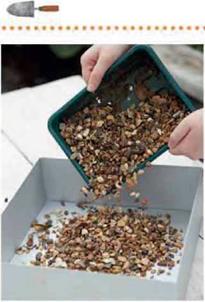
A cake pan with a loose bottom is perfect for drainage, but add drainage holes if using a different container. Cover the base with a layer of gravel for extra drainage.
|
|
|
3 |
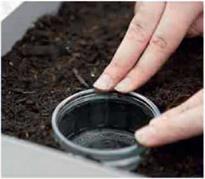
Make a space in the potting mix and add the container you are using for the pond.
|
2 |
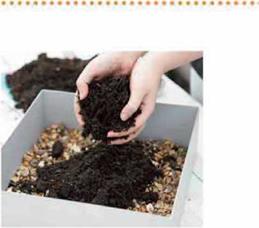
Add a layer of compost over the gravel, gently tapping the container when all the potting mix is in to disperse any air and allow it to settle evenly. Create a mound for the hill and leave a gap of 234in (7cm) from the top of the container to help with watering.
|
|
|
4 |
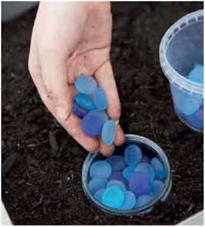
Add blue glass pebbles to the bowl to create your “water.”
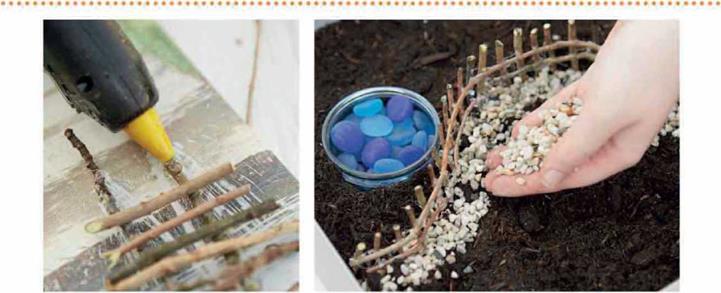
 3Make a fence by cutting twigs to similar sizes for the uprights, with longer pieces for the cross bars, and glue it all together; a glue gun is useful for this but not essential.

![]()
|
7 |
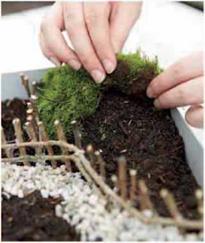
Use carpet moss as your “grass” and cover hills and fields, leaving spaces for plants.
To make a scarecrow, use a twig for the body, glue two twigs at one end for the legs, then glue another twig horizontally to make the arms. Lay the scarecrow on scraps of material and cut around to make the clothes. Cut out two identical shapes for each item, dab with glue around the edges and stick together. Pop a green tomato on top of the stick for the head.
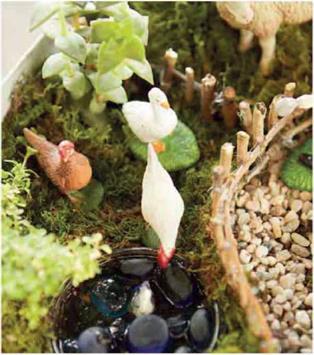
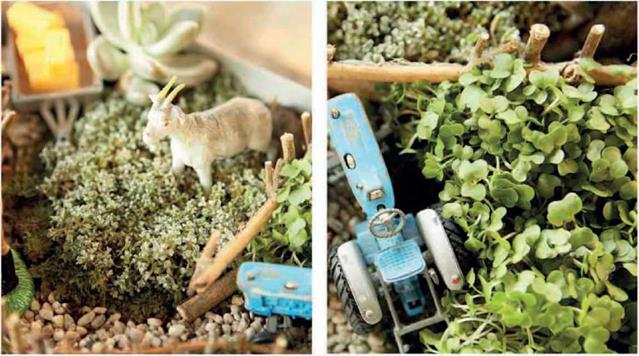
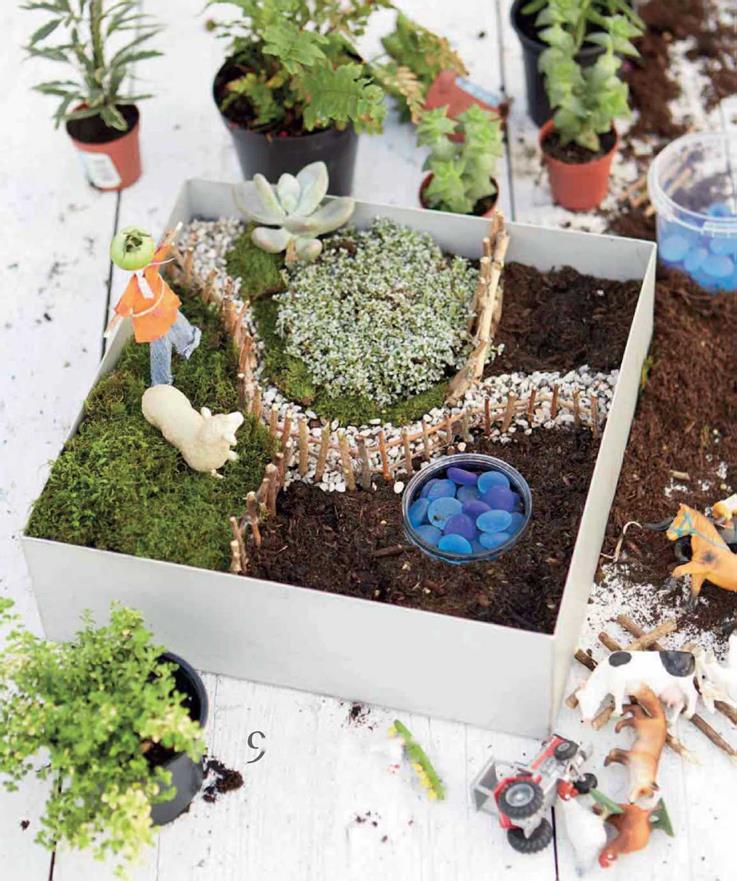 j Add plants in scale with&our і other decorations to act as trees, shrubs, and crops. Finally, add your scarecrow and selection of small toys, and pour some water into the pond.
 |
 |
|
|
|
|
|
|
 |
 |


TOOLS & equipment
planks of wood handsaw
3 terra-cotta pots with lips, all the same size
tape measure & pencil electric drill & drill bits fretsaw or jigsaw wood clamp
exterior wood paint & paintbrush clear marine varnish (optional) blackboard paint & white chalk crocks or gravel multipurpose potting mix watering can
4 lengths of strong but not too thick rope, each at least 6ft (2m) long
carabiner or other strong metal hoop strong metal hanging bracket, fixed securely to a wall heavy-duty scissors PVC tape
PLANT LIST
Eucalyptus gunnii
Festuca glauca ‘Intense Blue’
Juncus spiralis (corkscrew rush)
|
I |
Cut the planks into three equal squares, 1U-1%in (3-4cm) larger than the circumference of the pots. Position a pot in the center and draw around the top edge.
|
2 |
Draw another circle within this first circle to match the circumference under the lip of the pots, approximately %in (1.5cm) inside the larger circle.
|
|
чЛ—Project Steps


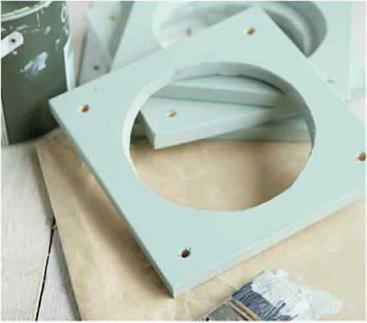 4 Take a square and clamp it to a sturdy work surface to keep it steady. Drill a pilot hole at a point just inside the smaller circle, large enough to accommodate the fretsaw or jigsaw blade. Thread the blade through the hole and cut all the way around the inner circle. Repeat for the other squares.
|
|
|
6 |
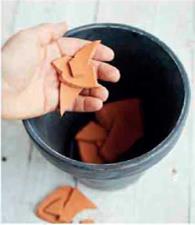
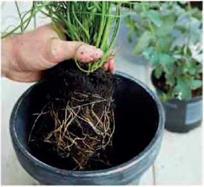
Before planting your pots, first add a layer of crocks or gravel for drainage, and then fill about halfway with potting mix.
|
3 |
Paint each pot holder with exterior wood paint and leave to dry. You can also add a coat of clear marine varnish for extra protection. Paint your pots at the same time; we used blackboard paint and chalk (see page 194).


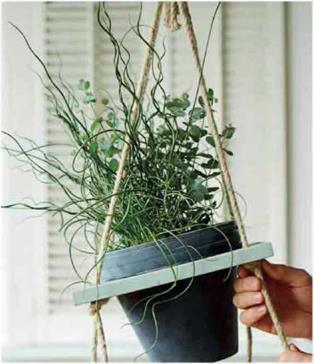

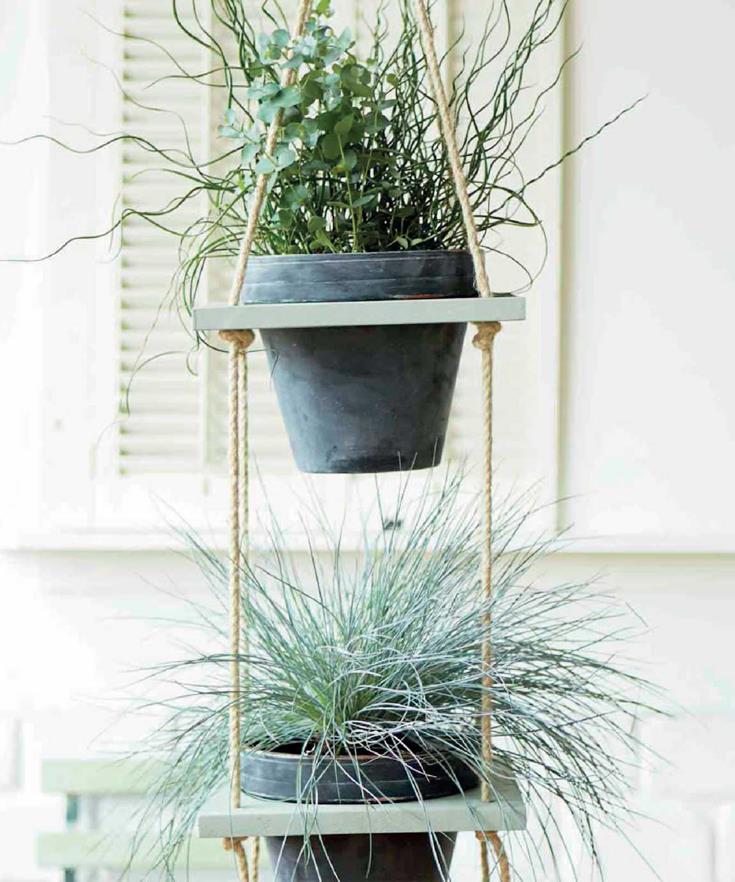
 8 Gather together the four ends of your rope, form a long loop, and then tie this off with a strong knot to leave a 4in (10cm) loop at the top. Attach to the carabiner or metal hoop, and hook this onto the bracket where you will be hanging the planter. A sheltered, sunny, or part-shade location is ideal for these plants.
|
9 |
Take a pot holder and insert the rope ends through the corner holes, feeding through until the holder is roughly where you want the top plant. Tie knots in each rope under the holder to keep it in position. Place the plant in the hole. Adjust the rope knots until level. Repeat with the remaining holders. Cut the rope ends and wrap with PVC tape for a neat finish.
Care Advice
|
|
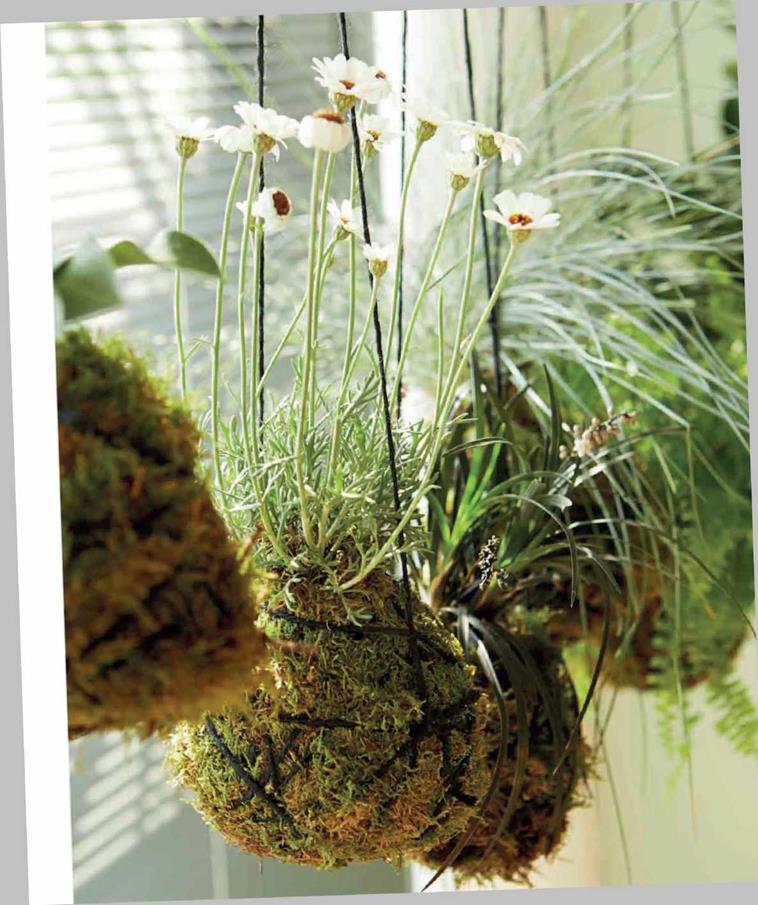
Kokedama

